

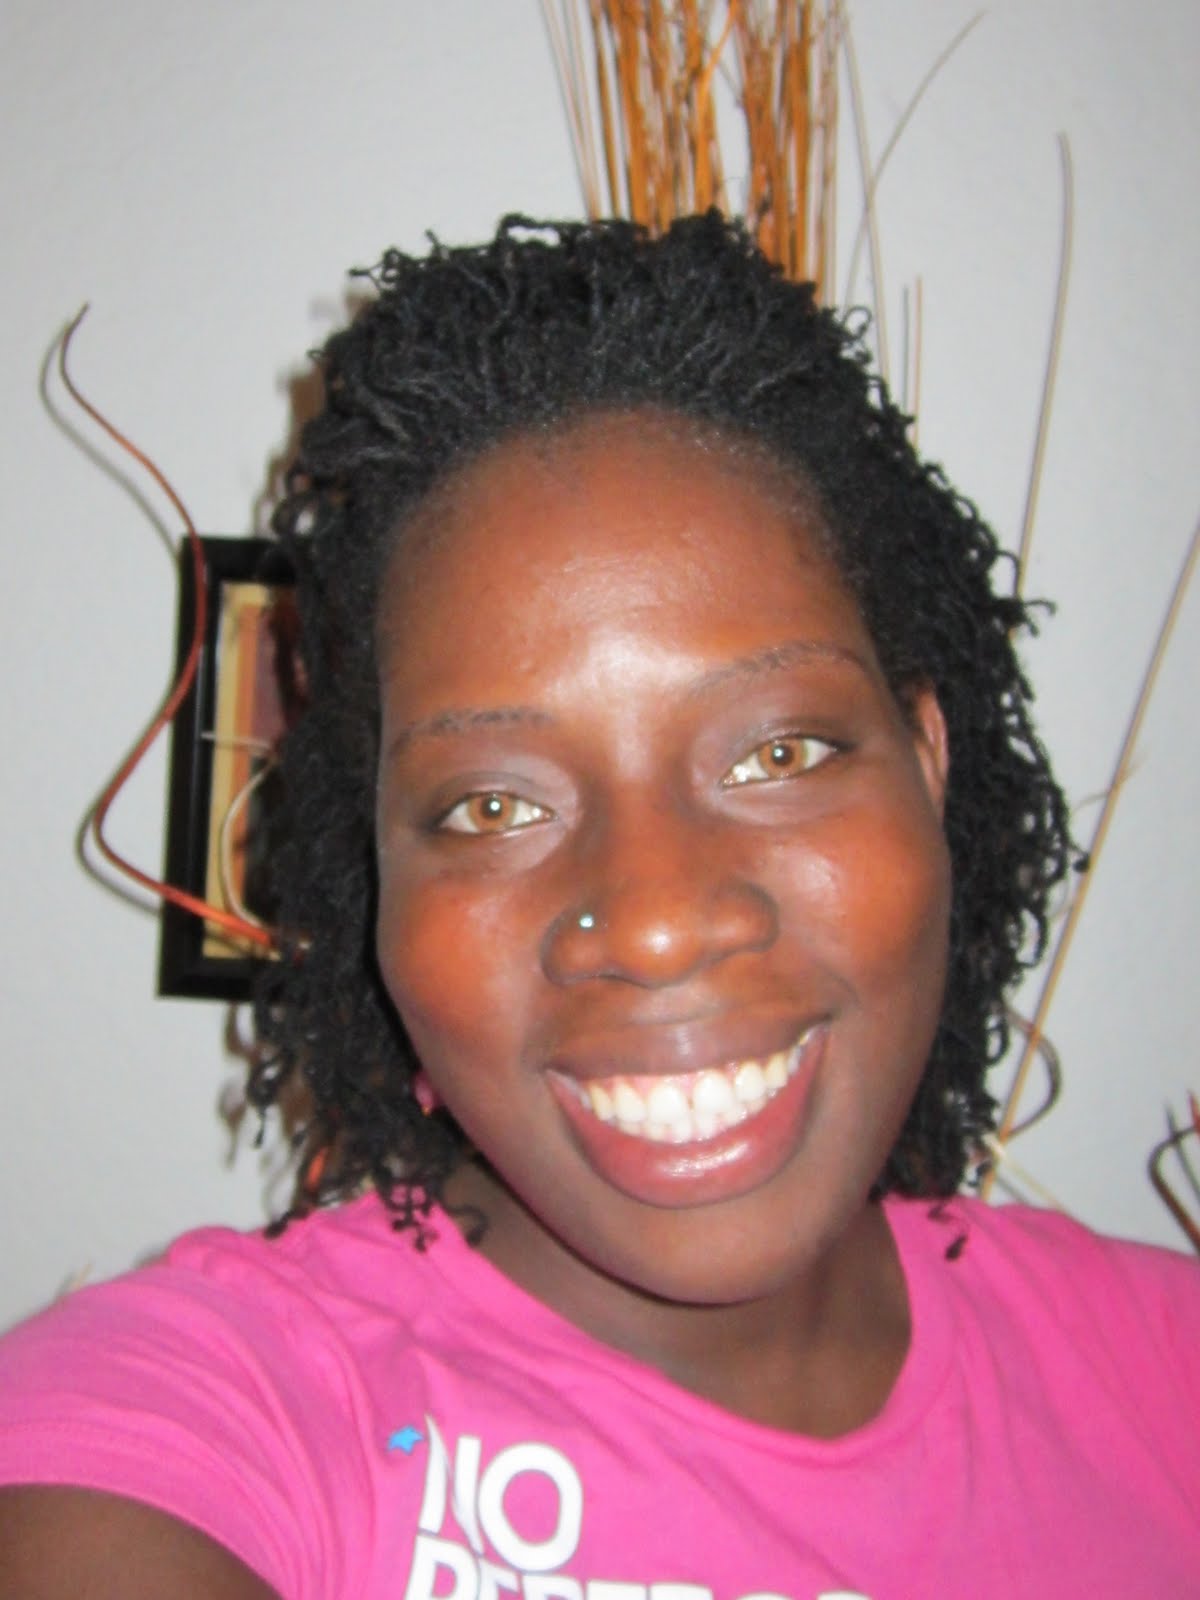
Below are the results of my temporary spray on color. I end up with lovely hightlighs that lasted for days. The "how to" for instant hightlights on locks can be found here.
As a first try, this came out really good. Went out with this last night, and no one could tell this was a temporary highlight. My next attempt will use a little less locks per area and evenly distribute around my head.
Note: You can click on any of the images to enlarge. All image are copyright by me. Please ask for permission if you want to use any of my pictures.
 |  |
 |  |
Note: You can click on any of the images to enlarge. All image are copyright by me. Please ask for permission if you want to use any of my pictures.
 This was fun to do and my daughter had a blast spraying my sisterlocks. This lasted untill I washed my hair. I'm still LOVING my jet black hair color (plan on redoing the jet black in a couple of months), but I wanted to try to something fun and different. So I decided to add temporary color via hightlights. I remember reading about this a while back, and I knew I was going to try it.
To make a long story short, I was at a beauty supply store and I decided to pick up a can of Jerome Russell's Temporary
Spray-in Natural Color Highlights
Material Needed
Cheap Shower Cap
1 Can of Hair Spray
Towel
Old Clothes
Kid(s) (optional =))
| Step 1) Cut up random holes in your shower cap. That is why I suggest using a cheap shower cap. Try to avoid area that can be clearly seen for example, don't cut a hole in the very front. You want your none color hair to cover/overlay the temporay highlights as much as possible. |  |
| Step 2) Put your locks in the holes your just created. The end result would be locks that are sticking out of the shower cap. |  |
| Step 3) I would suggest going outside or in your bathtub for the spraying of your locks. I had my daughter go at it for a couple of minute, then I went ahead and did the touch up by spraying it evenly up and down.Let your your locks dry up first before removing the shower cap & then style as usually |  |
Now you have instant highlights! Remember not to wet your locks, this is a temporany hair color and will wash out! Also note that it may run if it gets in contact with water. I would also suggest using a stain bonnet if you plan on rocking this more then 1 day. Have fun =).To see the result of my highlights click here.
Before we continuing further on this itchy scalp mixology series, you need to figure out if you have dandruff. If you have dandruff, then you may want to check out my previous mixology series on oils for controlling dandruff. Now on to this series!
The most common reasons for an itchy scalp are listed here.
- A very dry scalp (very common after a clarifing wash).
- A fresh retighten/twist/interlock locks.
- Different type of skin disorders
- Stress and Anxiety
If your locks are NOT MATURE, then I don't recommend adding this mixture to your hair/lock. You can use a temporary solution such as Sea Breeze or Witch Hazel for your itchy scalp (soak either solution on a cloth and rub it around the affected area).
Apply this combination directly to the problem area. NOTE: DO NOT add this mixture to witch hazel, if you do, it will shorten the lifespan of the solution. In other words, this will have a shorter lifespan. If you want to use witch hazel, I suggest using witch hazel to clean the area, then apply this mixture for a double itch relief. Another suggestion is rinsing your hair with diluted Lemon Juice, and then adding this mixture. If you decided to rinse your hair with lemon juice, please understand that if you are out in the sun for a long period of time, your locks will start to lighten up due to the acidic content in the lemon juice .
Note: If you been itching your scalp, and have broken into skin, you will get a tingling sensation, but do not confuse this with an irritation. Irritation would be a burning sensation which mean you are either allergic or you need to dilute the mixture some more.
Please note: This mixture is purely based on research. So use caution and please test on your skin first. If you not sure of any of these essential oils you welcome to contact an aromatherapy specialist for advice and usages. All of my mixture are at a 1 percent dilution. You can go up to 2.5 dilution if your scalp/skin can handle it. Do not use while pregnant or breastfeeding. If you have allergies please test a small amount first. Keep away from small children. It is recommended that diabetics stay away from lavender oil. More Information on measurement can be found here http://www.ehow.com/how_2200143_how-much-essential-oil-use.html. More helpful & caution tips can be found here http://www.aroma-essence.com/mini-guide.html.
The most common reasons for an itchy scalp are listed here.
- A very dry scalp (very common after a clarifing wash).
- A fresh retighten/twist/interlock locks.
- Different type of skin disorders
- Stress and Anxiety
If your locks are NOT MATURE, then I don't recommend adding this mixture to your hair/lock. You can use a temporary solution such as Sea Breeze
Material Needed
3-4 oz Cobalt Blueor Amber Wide-Mouth Jar
2oz (1/4) Measuring Cup
Recipe: Essential and Carrier Base Oils for Controlling Itchiness
7 Drops of 100% Pure Essential Oil Lavender
5 Drops of 100% Pure Rosemary Essential Oil
2 Drops of 100% 100% Pure Tea Tree Oil
2 oz. Castor Oil(heavy) or Jojoba oil
(light)
Apply this combination directly to the problem area. NOTE: DO NOT add this mixture to witch hazel, if you do, it will shorten the lifespan of the solution. In other words, this will have a shorter lifespan. If you want to use witch hazel, I suggest using witch hazel to clean the area, then apply this mixture for a double itch relief. Another suggestion is rinsing your hair with diluted Lemon Juice, and then adding this mixture. If you decided to rinse your hair with lemon juice, please understand that if you are out in the sun for a long period of time, your locks will start to lighten up due to the acidic content in the lemon juice .
| Lavender Oils - Beside it soothing and wonderful scent, Lavender oil is great for providing comfort to an irrated scalp. It is known for fighting off pain (by rapidly aiding in the formation of scar tissues), hair loss, dandruff, as well as burning senstion. This oil is very popuplar due to the fact that it is known to relax the mind and help calm the scenses. As a bonus, this oil can be use in effectively fighting off lice, lice eggs or nits. |  |
| Rosemary Essential Oil - If you have an itchy scalp, then I'm sure you are constently scatching it, this can cause some kind of hair lost. So added rosemary essential oil will aid in hair growth, as will as effectively increase the chance of healing for the scalp. |  |
| Tea Tree Essential Oil - Is great for any scalp related aliment period. This essensce oil is marketed in a lot of skin & scalp related products. Its natural antibacterial disinfectant properties make it a great choice for this mixture. |  |
| Castor Oil - A natural carrior oil that has a thicker consistency then jojoba oil. It beeh shown to help retain hair, and improve and thicken the natural growth process of the hair. Castor also prevents dry scalp and boost overall scalp health. |  |
| Jojoba Oil - A carrier base oil that resemble our natural scalp producing oils. It's lighter then Castor oil and it is an ideal moisturizer. It's also known as a great scalp conditioner as well. |  |
Please note: This mixture is purely based on research. So use caution and please test on your skin first. If you not sure of any of these essential oils you welcome to contact an aromatherapy specialist for advice and usages. All of my mixture are at a 1 percent dilution. You can go up to 2.5 dilution if your scalp/skin can handle it. Do not use while pregnant or breastfeeding. If you have allergies please test a small amount first. Keep away from small children. It is recommended that diabetics stay away from lavender oil. More Information on measurement can be found here http://www.ehow.com/how_2200143_how-much-essential-oil-use.html. More helpful & caution tips can be found here http://www.aroma-essence.com/mini-guide.html.
This sisterlocks style was the result of releasing my twists. I went to an event the other day and used the flat twists to enhance the crinkle effect on my sisterlocks. I regret not taking pictures of this style, and the reason why I didn't take pictures was because I was running late. The pictures below are not as fresh as the day of the event, but the style still looked good the following day. I also was able to create an additionally style with my twists, click here to view it. This style is pretty much self-explanatory, so no "how to" for this post.
I notice the longer my sisterlocks are getting, the faster the curls and crinkles are dying. Hopefully this will soon stop with the purchase of a settling lotion. If anyone has a suggestion for a settling lotion please let me know. I'm debating between Lottabody and TALIAH WAAJID Crinkles & Curls.
I notice the longer my sisterlocks are getting, the faster the curls and crinkles are dying. Hopefully this will soon stop with the purchase of a settling lotion. If anyone has a suggestion for a settling lotion please let me know. I'm debating between Lottabody
 |  |
 |  |
 |  |

I was able to create two main styles with my twists, and that is why you seeing two "style edition" posts. The first style was created by using my twists, and pinning them down with bobby pins. The second sisterlocks style was created with the release of the twists and you can view the style here.


Note: I fixed all the bobby pins that was sticking out that day and used Aloe Gel to smooth out my edges.
The pictures above were the best I could find, since I was in a rush that day. The pictures didn't come out all that great, but you can get an idea of how the style looked at least.

I came upon the concept while reading a post on Pebbles blog. I also notice my consultant uses a regular brush to smooth out her edges as well. I didn't want to use a regular brush, since my edges as well as my middle (new growth) are very fine. So I went ahead and purchase a baby brush. Here is a quick review of the brush, and some before and after shots.
Product Features
- Nylon bristles are soft and gentle to baby's tender scalp
- Sized for baby's needs but comfortable for an adult to use
- Cheap
- Very Soft
- Feel Soothing
- Cause no shedding
Dislike
- N/A
 |  |
| Before Hair is all over the place. | After Hair is smooth out & the part is nice |
As you can see from the pictures, the baby brush is GREAT!!! So if you looking for something that smooth out the fizz, check out your local dollar store, and grab a baby brush


